
Grain Prep
Standard Operating Procedure (SOP) for Whole Oats or Rye Berries. Objective: Achieve 50-55% moisture content (MC) with zero surface moisture to prevent bacterial vectoring during colonization.
### Phase 1: Grain Selection & Analysis
Select grain based on cost-efficiency and inoculation points per volume.
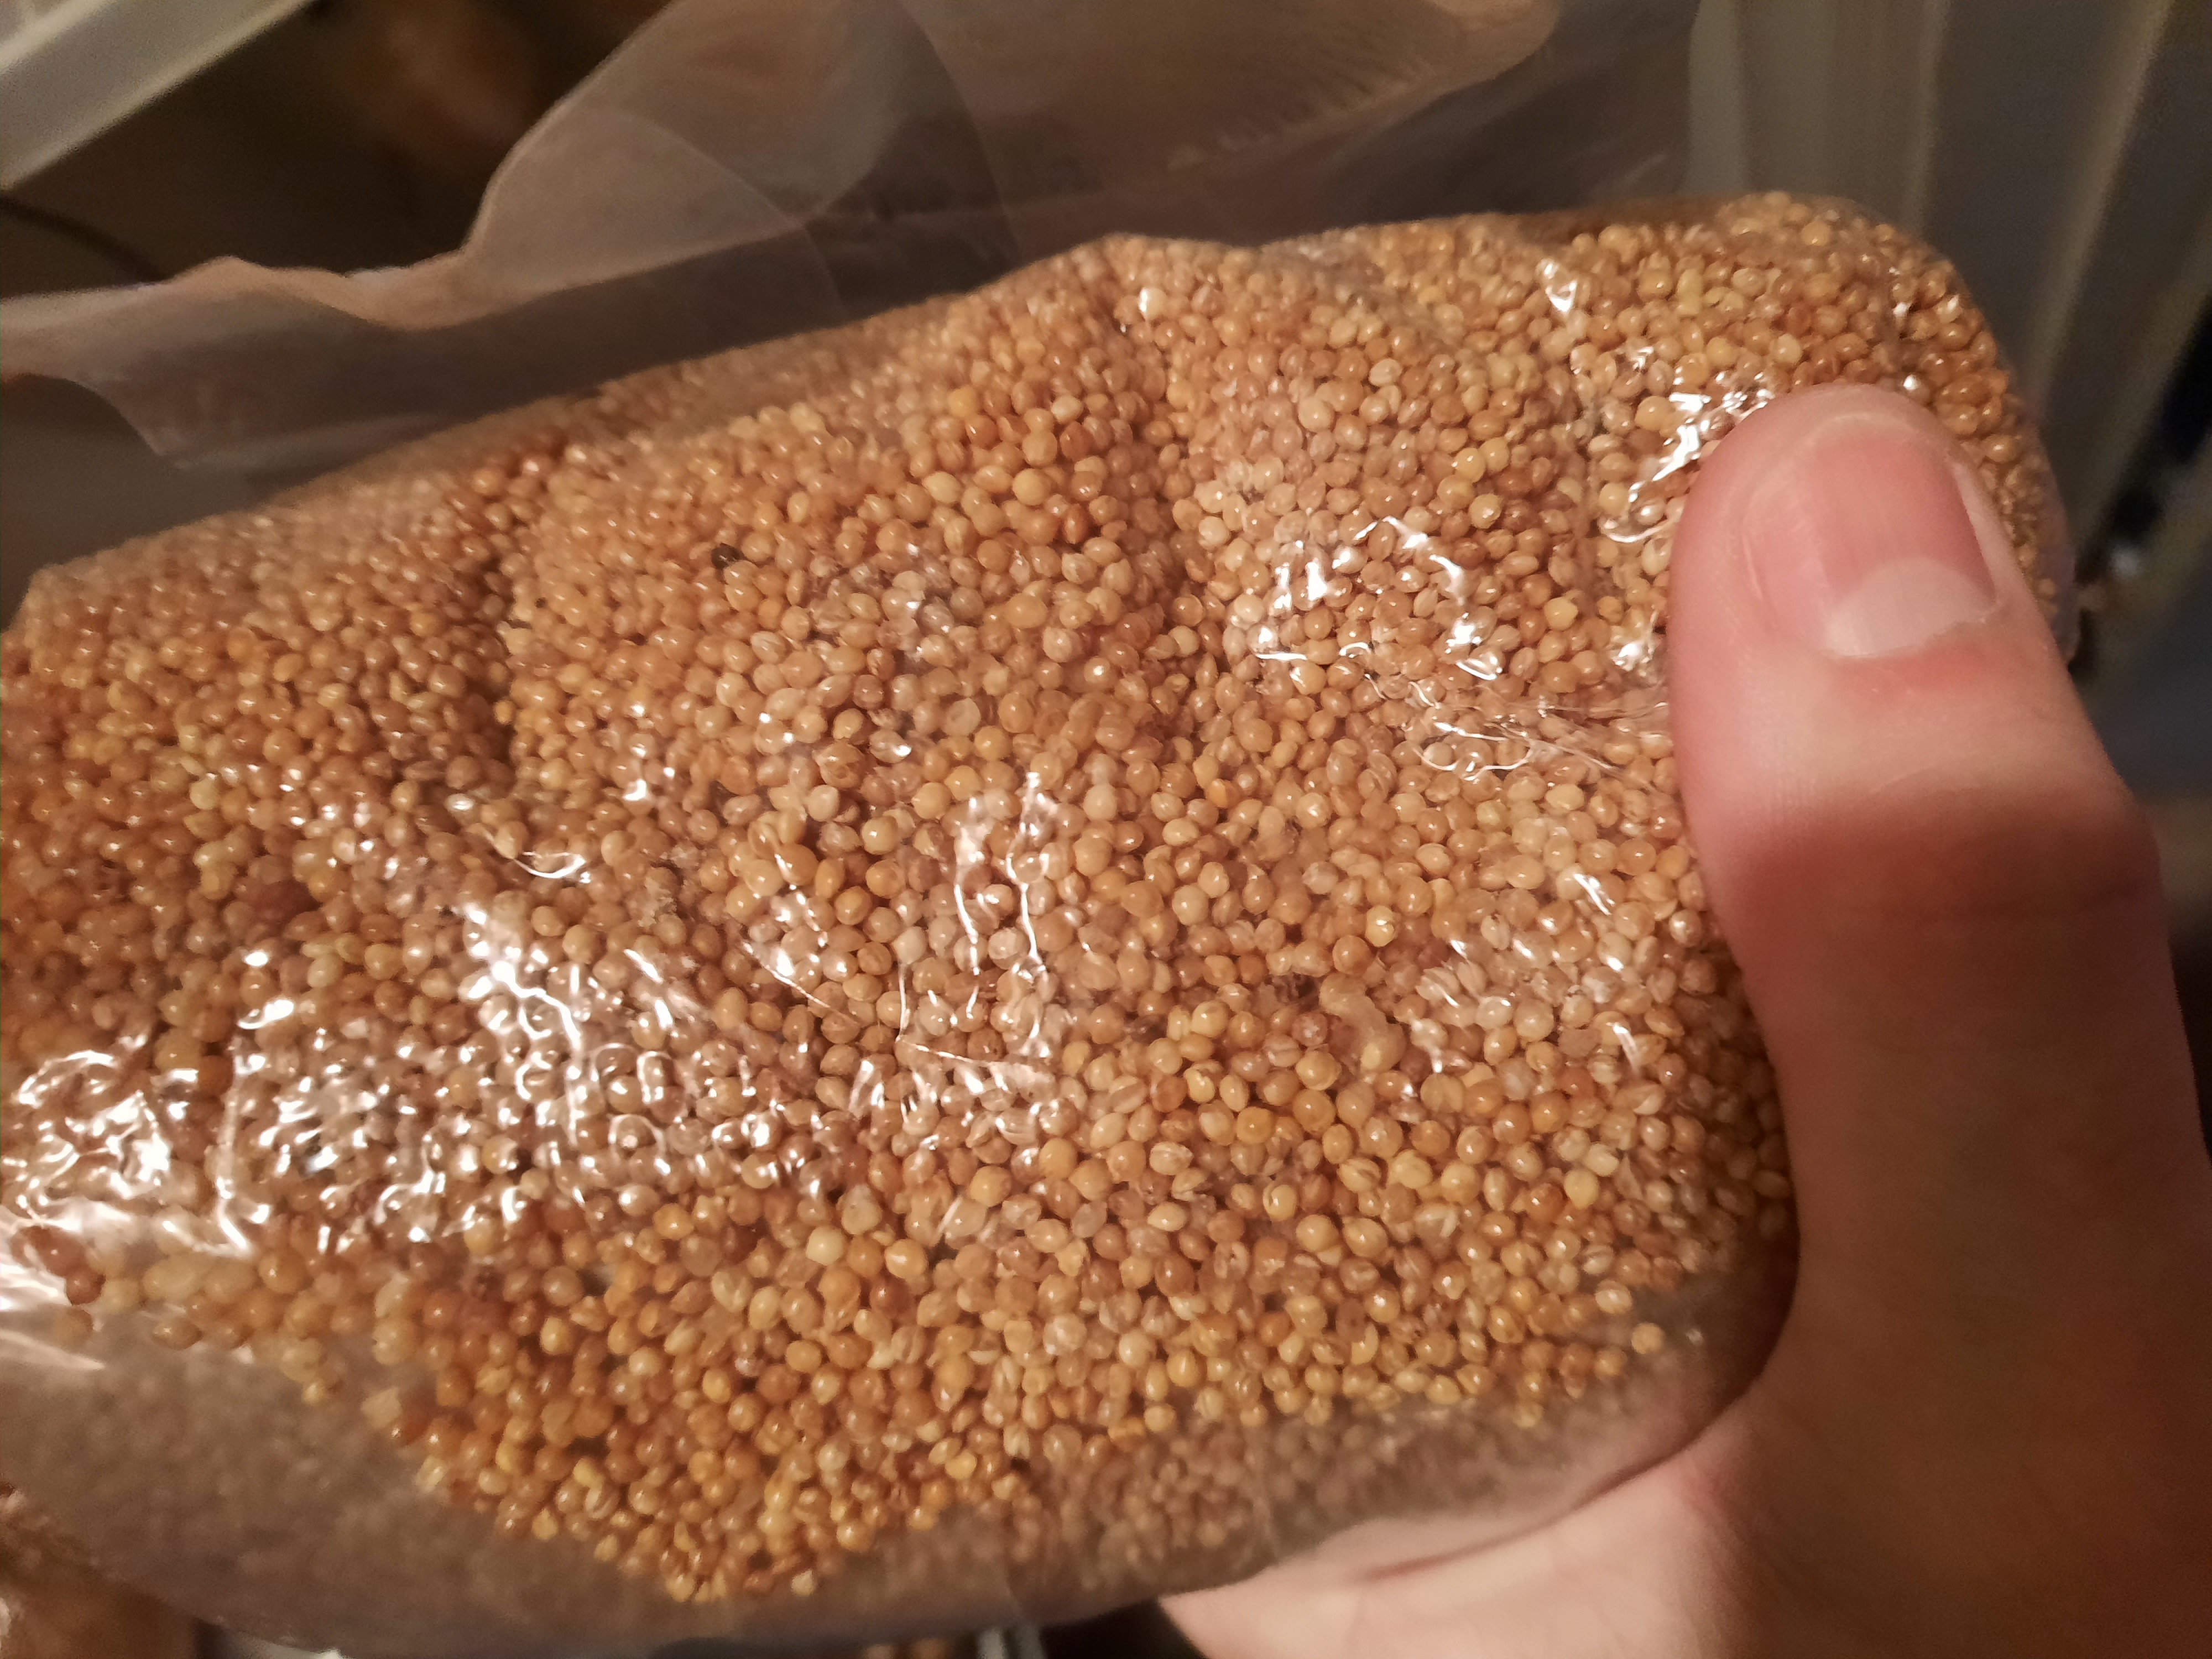
| Grain Type | Cost Effectiveness | Colonization Speed | Prep Difficulty | Notes | | --- | --- | --- | --- | --- | | **Whole Oats** | High | Moderate | Low | Very forgiving; cheap (feed stores). Best for bulk. | | **Rye Berries** | Low | High | Moderate | The gold standard nutritionally, but expensive. | | **Millet** | Moderate | Very High | Low (NSNS*) | Highest inoculation points; prone to clumping if wet. | | **Milo/Sorghum** | High | Moderate | Moderate | Similar to Millet but harder shell. |
**NSNS: No Soak, No Simmer (Millet specific).*
---
### Phase 2: Rinsing and Pre-Soak
*This phase is critical for endospore germination, making sterilization effective.*
1. **Rinse:** Dump dry grain into a 5-gallon bucket or wash tub. Rinse with tap water, agitating aggressively to remove dust, chaff, and bug fragments. Repeat until water runs clear (usually 3-4 washes). 2. **Soak:** Cover grain with water (fill 2-3 inches above grain line to account for expansion). 3. **Gypsum Addition:** Add **Gypsum (Calcium Sulfate)** at a ratio of **5% by dry grain weight** (approx. 1 cup per 5 gallons of grain). * *Function:* pH buffer and anti-caking agent.
4. **Duration:** Soak for **12–24 hours**. This signals dormant endospores to germinate, making them susceptible to thermal destruction in the autoclave.
---
### Phase 3: Thermal Hydration (The Simmer)
*Target: Internal hydration without burst kernels.*
1. **Transfer:** Move soaked grain to a stock pot or industrial steam kettle. 2. **Boil:** Bring water to a rolling boil. 3. **Simmer Duration:** * **Oats:** 30–45 minutes. * **Rye:** 15–25 minutes.
4. **The "Thumb Nail" Test:** Periodically scoop a few grains. You must be able to slice through the kernel with your fingernail, revealing a hydrated (white/translucent) center, but the shell must remain intact. * *Failure State:* If kernels are bursting (starchy white guts exploding out), you have over-hydrated. This leads to "wet rot" (Bacillus).
---
### Phase 4: Surface Evaporation & Bagging
*Surface moisture is the #1 cause of bacterial contamination.*
1. **Drain:** Strain grain immediately while hot. The steam helps evaporate surface moisture. 2. **Spread:** Layout grain on large drying screens or a clean table. 3. **The Tissue Test:** Place a small pile of grain on a piece of toilet paper or paper towel for 10 seconds. * **Pass:** No wet spot on the paper. * **Fail:** Wet spot visible. Continue drying.
4. **Bagging:** Load into 0.2-micron or 0.5-micron filter patch bags. * *Standard Commercial Weight:* 2.5kg (approx. 5.5 lbs) or 3kg blocks. * *Jar Note:* If using jars, fill to 75% capacity and use modified lids with synthetic filter discs.
---
### Phase 5: Sterilization Cycle
*Parameters for standard autoclaves or 23qt Pressure Cookers (e.g., Presto 23).*
| Parameter | Specification | | --- | --- | | **Pressure** | 15 PSI (min) - 18 PSI (ideal) | | **Temperature** | 121°C (250°F) | | **Duration (Bags)** | 120 - 150 Minutes | | **Duration (Jars)** | 90 - 120 Minutes | | **Venting** | Vent steam for 10 mins prior to sealing weight/valve to expel air pockets. |
**Cooling Protocol:** Allow the PC/Autoclave to return to 0 PSI naturally. Do not manually vent; rapid decompression causes bags to expand and burst seals (or crack jars). Allow to cool to room temperature (approx. 8–12 hours) in front of a Laminar Flow Hood before inoculation.
](<# Grain Preparation Protocol: Commercial Scalability
Context: Standard Operating Procedure (SOP) for Whole Oats or Rye Berries. Objective: Achieve 50-55% moisture content (MC) with zero surface moisture to prevent bacterial vectoring during colonization.
---
### Phase 1: Grain Selection & Analysis
Select grain based on cost-efficiency and inoculation points per volume.
| Grain Type | Cost Effectiveness | Colonization Speed | Prep Difficulty | Notes | | --- | --- | --- | --- | --- | | Whole Oats | High | Moderate | Low | Very forgiving; cheap (feed stores). Best for bulk. | | Rye Berries | Low | High | Moderate | The gold standard nutritionally, but expensive. | | Millet | Moderate | Very High | Low (NSNS*) | Highest inoculation points; prone to clumping if wet. | | Milo/Sorghum | High | Moderate | Moderate | Similar to Millet but harder shell. |
*NSNS: No Soak, No Simmer (Millet specific).
---
### Phase 2: Rinsing and Pre-Soak
This phase is critical for endospore germination, making sterilization effective.
1. Rinse: Dump dry grain into a 5-gallon bucket or wash tub. Rinse with tap water, agitating aggressively to remove dust, chaff, and bug fragments. Repeat until water runs clear (usually 3-4 washes). 2. Soak: Cover grain with water (fill 2-3 inches above grain line to account for expansion). 3. Gypsum Addition: Add Gypsum (Calcium Sulfate) at a ratio of 5% by dry grain weight (approx. 1 cup per 5 gallons of grain). Function: pH buffer and anti-caking agent.
4. Duration: Soak for 12–24 hours. This signals dormant endospores to germinate, making them susceptible to thermal destruction in the autoclave.
---
### Phase 3: Thermal Hydration (The Simmer)
Target: Internal hydration without burst kernels.
1. Transfer: Move soaked grain to a stock pot or industrial steam kettle. 2. Boil: Bring water to a rolling boil. 3. Simmer Duration: Oats: 30–45 minutes.
- Rye: 15–25 minutes.
4. The "Thumb Nail" Test: Periodically scoop a few grains. You must be able to slice through the kernel with your fingernail, revealing a hydrated (white/translucent) center, but the shell must remain intact. * Failure State: If kernels are bursting (starchy white guts exploding out), you have over-hydrated. This leads to "wet rot" (Bacillus).
---
### Phase 4: Surface Evaporation & Bagging
Surface moisture is the #1 cause of bacterial contamination.
1. Drain: Strain grain immediately while hot. The steam helps evaporate surface moisture. 2. Spread: Layout grain on large drying screens or a clean table. 3. The Tissue Test: Place a small pile of grain on a piece of toilet paper or paper towel for 10 seconds. * Pass: No wet spot on the paper. * Fail: Wet spot visible. Continue drying.
4. Bagging: Load into 0.2-micron or 0.5-micron filter patch bags. * Standard Commercial Weight: 2.5kg (approx. 5.5 lbs) or 3kg blocks. * Jar Note: If using jars, fill to 75% capacity and use modified lids with synthetic filter discs.
---
### Phase 5: Sterilization Cycle
Parameters for standard autoclaves or 23qt Pressure Cookers (e.g., Presto 23).
| Parameter | Specification | | --- | --- | | Pressure | 15 PSI (min) - 18 PSI (ideal) | | Temperature | 121°C (250°F) | | Duration (Bags) | 120 - 150 Minutes | | Duration (Jars) | 90 - 120 Minutes | | Venting | Vent steam for 10 mins prior to sealing weight/valve to expel air pockets. |
 Cooling Protocol:
Allow the PC/Autoclave to return to 0 PSI naturally. Do not manually vent; rapid decompression causes bags to expand and burst seals (or crack jars). Allow to cool to room temperature (approx. 8–12 hours) in front of a Laminar Flow Hood before inoculation.
Cooling Protocol:
Allow the PC/Autoclave to return to 0 PSI naturally. Do not manually vent; rapid decompression causes bags to expand and burst seals (or crack jars). Allow to cool to room temperature (approx. 8–12 hours) in front of a Laminar Flow Hood before inoculation.